Pneumatic Rubber Fender Inspection Key Points
Pneumatic rubber fenders are critical for ship berthing and mooring operations, absorbing impact energy to protect vessels and port structures. Regular inspections ensure their reliability and longevity. Below are the key inspection points:
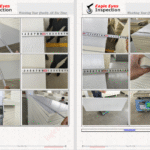
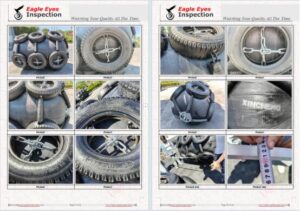
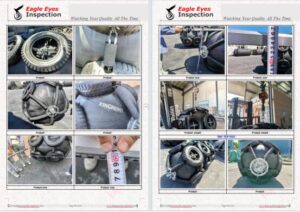
1. Visual Inspection
Surface Condition: Check for cuts, cracks, abrasions, bulges, or deformations.
Seam Integrity: Inspect bonding seams for separation or weakening.
Abrasion & Wear: Look for excessive wear, especially in high-contact areas.
Foreign Objects: Remove debris or sharp objects that may damage the fender.
2. Pressure Check
Inflation Pressure: Verify the fender is inflated to the manufacturer’s recommended pressure (typically 0.3–1.0 bar).
Leakage Test: Apply soapy water to valves, seams, and surfaces to detect air leaks.
Pressure Drop: Monitor for gradual pressure loss, indicating slow leaks.

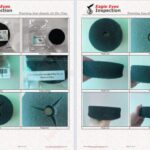
3. Valve Inspection
Valve Functionality: Ensure the inflation valve operates smoothly without leaks.
Valve Cap: Check if the protective cap is secure to prevent dirt ingress.
4. Mounting & Hardware Check
Brackets & Chains: Inspect for corrosion, cracks, or loose connections.
Fasteners: Ensure bolts, nuts, and washers are tight and corrosion-free.
Alignment: Confirm proper positioning to avoid uneven stress.
5. Internal Inspection (If Applicable)
Inner Liner: Check for delamination or air pockets (if accessible).
Reinforcement Cords: Look for broken or frayed cords (if visible).
6. Performance Check
Rebound Test: After compression, the fender should return to its original shape without permanent deformation.
Impact Absorption: Ensure no abnormal stiffness or softening during use.
7. Environmental & Operational Factors
UV & Ozone Damage: Check for surface cracking due to prolonged sun exposure.
Chemical Exposure: Inspect for degradation from oil, fuel, or chemicals.
Marine Growth: Remove barnacles or algae that may accelerate wear.
8. Documentation & Record Keeping
Maintain inspection logs, including pressure readings, damage reports, and repair history.
Follow manufacturer guidelines for maintenance intervals.