Carbon Filter Inspection Process
Regular inspection of carbon filters is essential to ensure optimal performance, longevity, and safety in air/water purification systems. Below is a step-by-step inspection process:
1. Pre-Inspection Preparation
Review Manufacturer Guidelines: Check the recommended inspection frequency and procedures.
Safety Measures:
Turn off and isolate the system (for HVAC, water filters, etc.).
Wear PPE (gloves, mask, goggles) if handling spent carbon.
Tools Needed:
Flashlight
Pressure gauge (for flow systems)
Moisture meter (if applicable)
Replacement carbon (if testing efficiency)

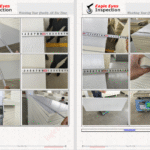
2. Visual Inspection
Exterior Condition:
Check for cracks, leaks, or corrosion in the filter housing.
Ensure seals/gaskets are intact.
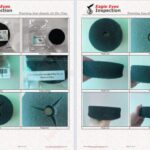
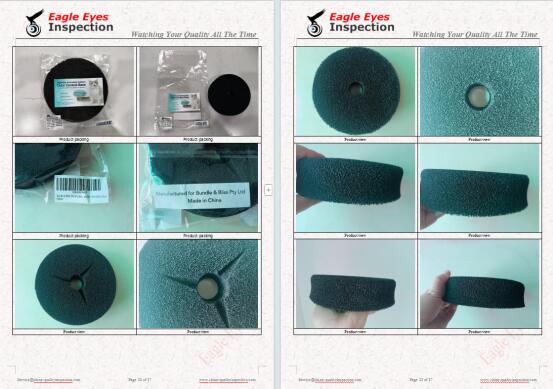
Carbon Bed Inspection:
Open the filter housing (if accessible).
Look for channeling (uneven carbon distribution).
Check for excessive dust or fines (indicates breakdown).
Inspect for moisture/mold (if used in humid environments).


3. Performance Testing
For Air Filters:
Odor Detection: If the filter no longer removes odors effectively, it may be saturated.
Airflow Measurement: Use a manometer to check pressure drop (high indicates clogging).
For Water Filters:
Flow Rate Check: Reduced flow may mean clogging.
Taste/Odor Test: If contaminants are detectable, replacement may be needed.
Chlorine Test (for activated carbon): Use a chlorine test kit to verify removal efficiency.
4. Carbon Quality Assessment
Activation Check:
If possible, send a sample for lab testing (iodine number, molasses efficiency).
Alternatively, use an adsorption test (e.g., dropping a small amount of dye to see if it’s absorbed).
Lifespan Estimation:
Compare usage duration vs. manufacturer’s recommended replacement interval.